A friend of mine once said that it takes 10 times longer to complete a kitchen renovation than originally planned. It’s TRUE! I’ve been quite absent on my blog lately because of our kitchen renovation project. I won’t bore you with too many details so here’s a short list of what it took to get that beautiful “After” result…
Recessed Lighting. We removed box light in the ceiling and installed recessed can lights (not DIY, electrician installed).
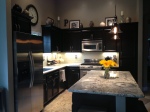
Re-stained Kitchen Cabinets with Java Stain
Demolished Existing Ceramic Tile Countertop and Backsplash
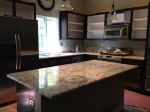
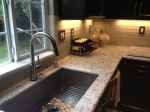
Granite Countertops. We searched for MONTHS for a granite color/style we could both agree on. We chose White Galaxy, a creamy white granite with beautiful sparkly flecks.
Kitchen Sink & Faucet. We chose the Kohler Vault Stainless Single Basin and Brizo Solna Faucet w/ Touch2O feature. We also purchased an air switch for the garbage disposal, a single button on the countertop which freed up a switch for under-cabinet lights.
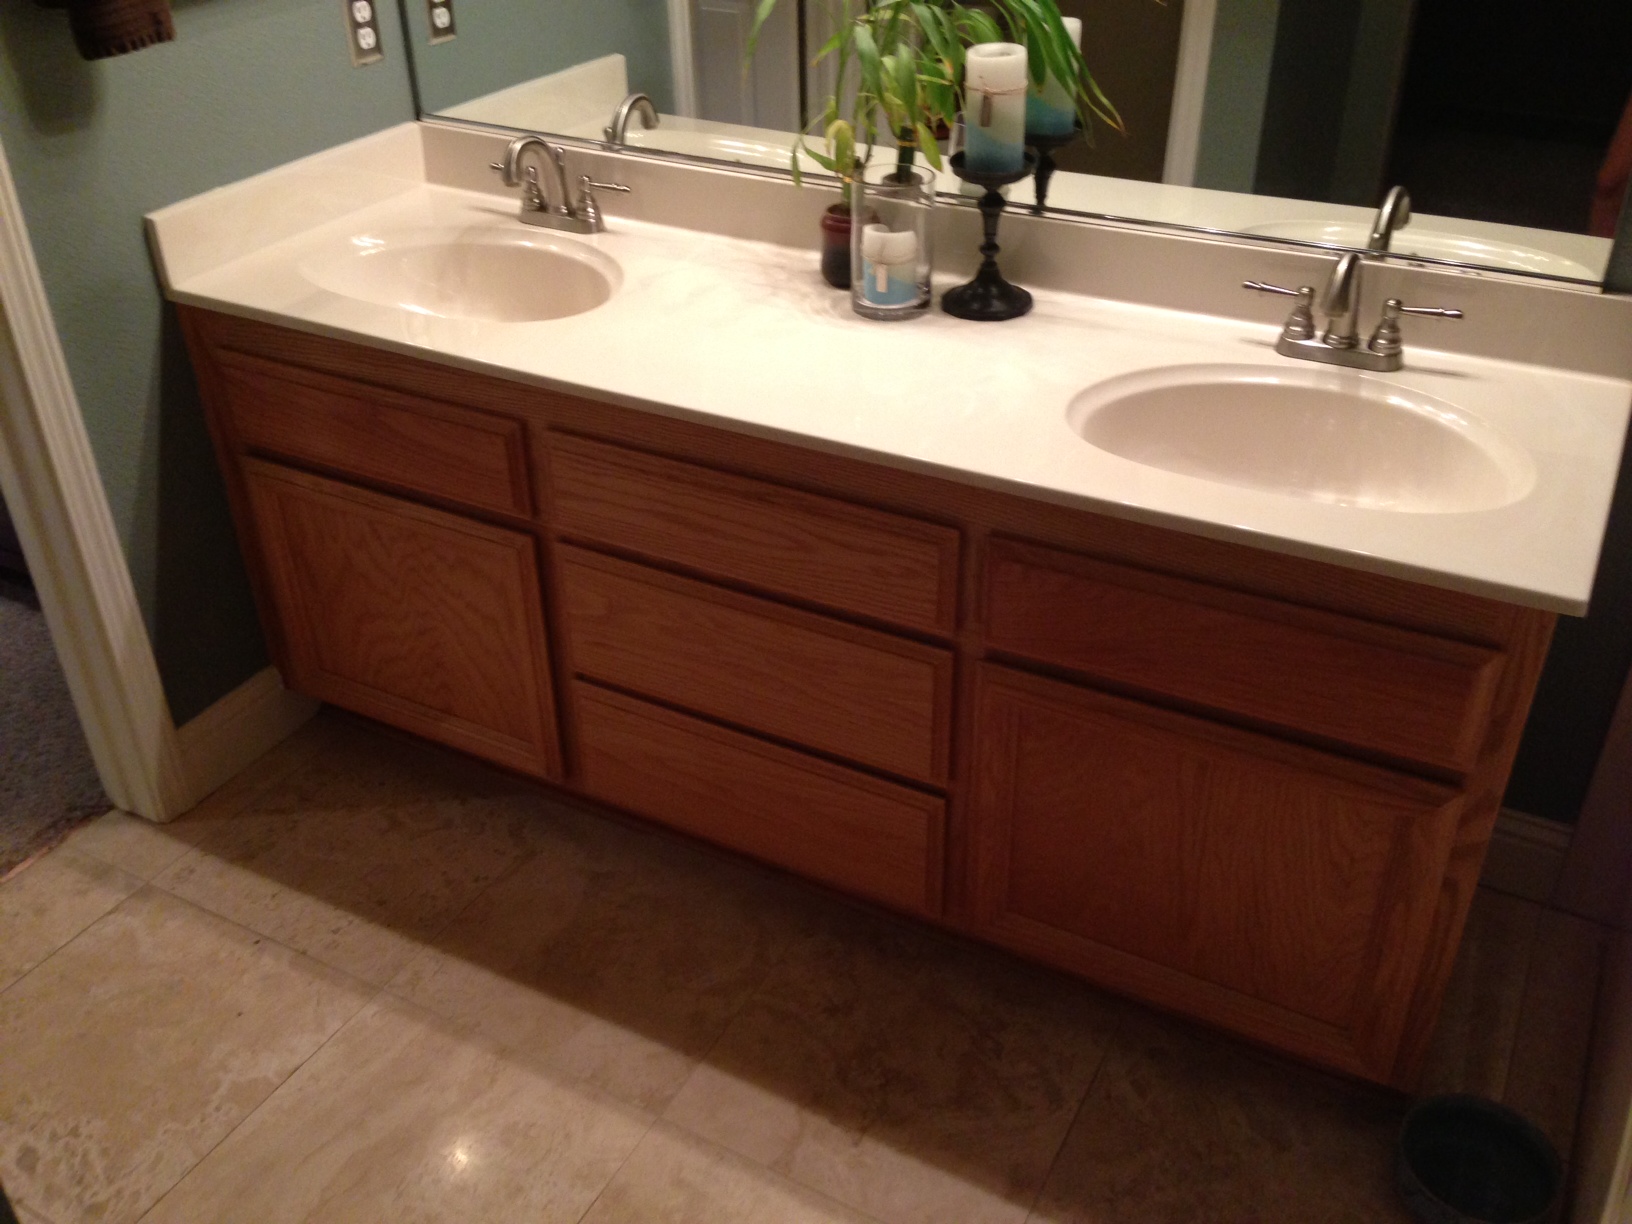
Countertop Installation. The crew did a great job and finished in one day! They also replaced the hall bathroom countertop with leftover granite. The hubs installed corbels under the island to give it an upgraded look.
Kitchen Backsplash. It took me forever to find a glass tile to match the off-white granite countertop. Most white glass tiles have a green tint so I searched for something off-white or taupe. I ordered samples from http://www.glasstilestore.com and found one that worked! We chose Loft Horizon Sand Beach Frosted 2×16 Glass Tile.
Backsplash Installation. This ended up being a relatively easy DIY project. We borrowed a tile saw from a friend and watched YouTube tutorials on how to install a glass tile backsplash. It took about a week to complete (since my hubs’ work schedule is horrendous), but the end result is beautiful!
Next up…. the baby’s room! After 4 long months… we are finally done with our kitchen renovation. FINALLY.
BEFORE:
-
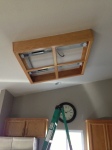
- Ugly Box Light
-
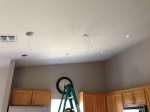
- Recessed Lighting Wired
-
- Pendant Lights Installed
-

- Recessed Can Lighting Installed
-
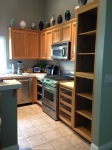
- Bye Bye Oak Cabinets
-
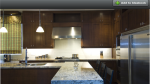
- Inspiration Photo
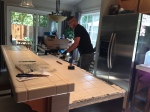
CONSTRUCTION:
-
- Tearing Out The Tile
-

- Tile Counters Are Gone… What A Mess.
-
- Bye Bye Raised Bar… Hello Single Level Island!
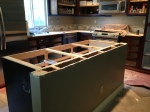
-
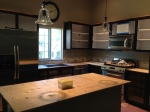
- Ready For Granite!
-
- Granite Is In… Still So Much To Do!
-
- Cabinet Interiors Painted White
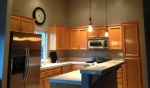
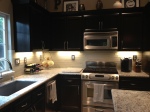
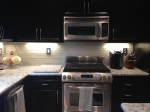
AFTER:
-
- Under Cabinet Lighting
-
- Stainless Plate Covers w/ Concealed Screws
-
- Granite Ledge
-
- Frosted Glass Tile Backsplash
-
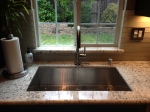
- Stainless Steel Single Basin Sink and Brizo Solna Faucet
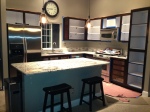
-
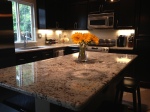
- Large Single Level Island